First, with my brand new router armed with a 1/2" colletted 3/8" round over bit, I smoothed out the body of the guitar. The I took it over to the spindle sander yet again for a (hopefully) final round of edge sanding.

Looks nice, no?
After that, I cut out a neck template from some plywood that was lying around. I labeled it because I'm bound to forget what it is otherwise.

I decided not to use the plunge router to cut out the neck pocket as I didn't want to switch out the bases and sub bases and router bits and such. So I cut out the neck cavity with a drill press and a small chisel to "clean it up." This I affixed to the body using my favorite tool, Scotch double-sided tape!

It could stand some more cleaning up via the sandpaper - but it fits so nice and tight right now, I don't even want to mess with it until I get closer to neck attaching time. I took a picture of body with neck pocket.

I can taste how close this thing is to being done! Even though I have a bunch left to do. Below is the dry fit of the neck into the pocket.
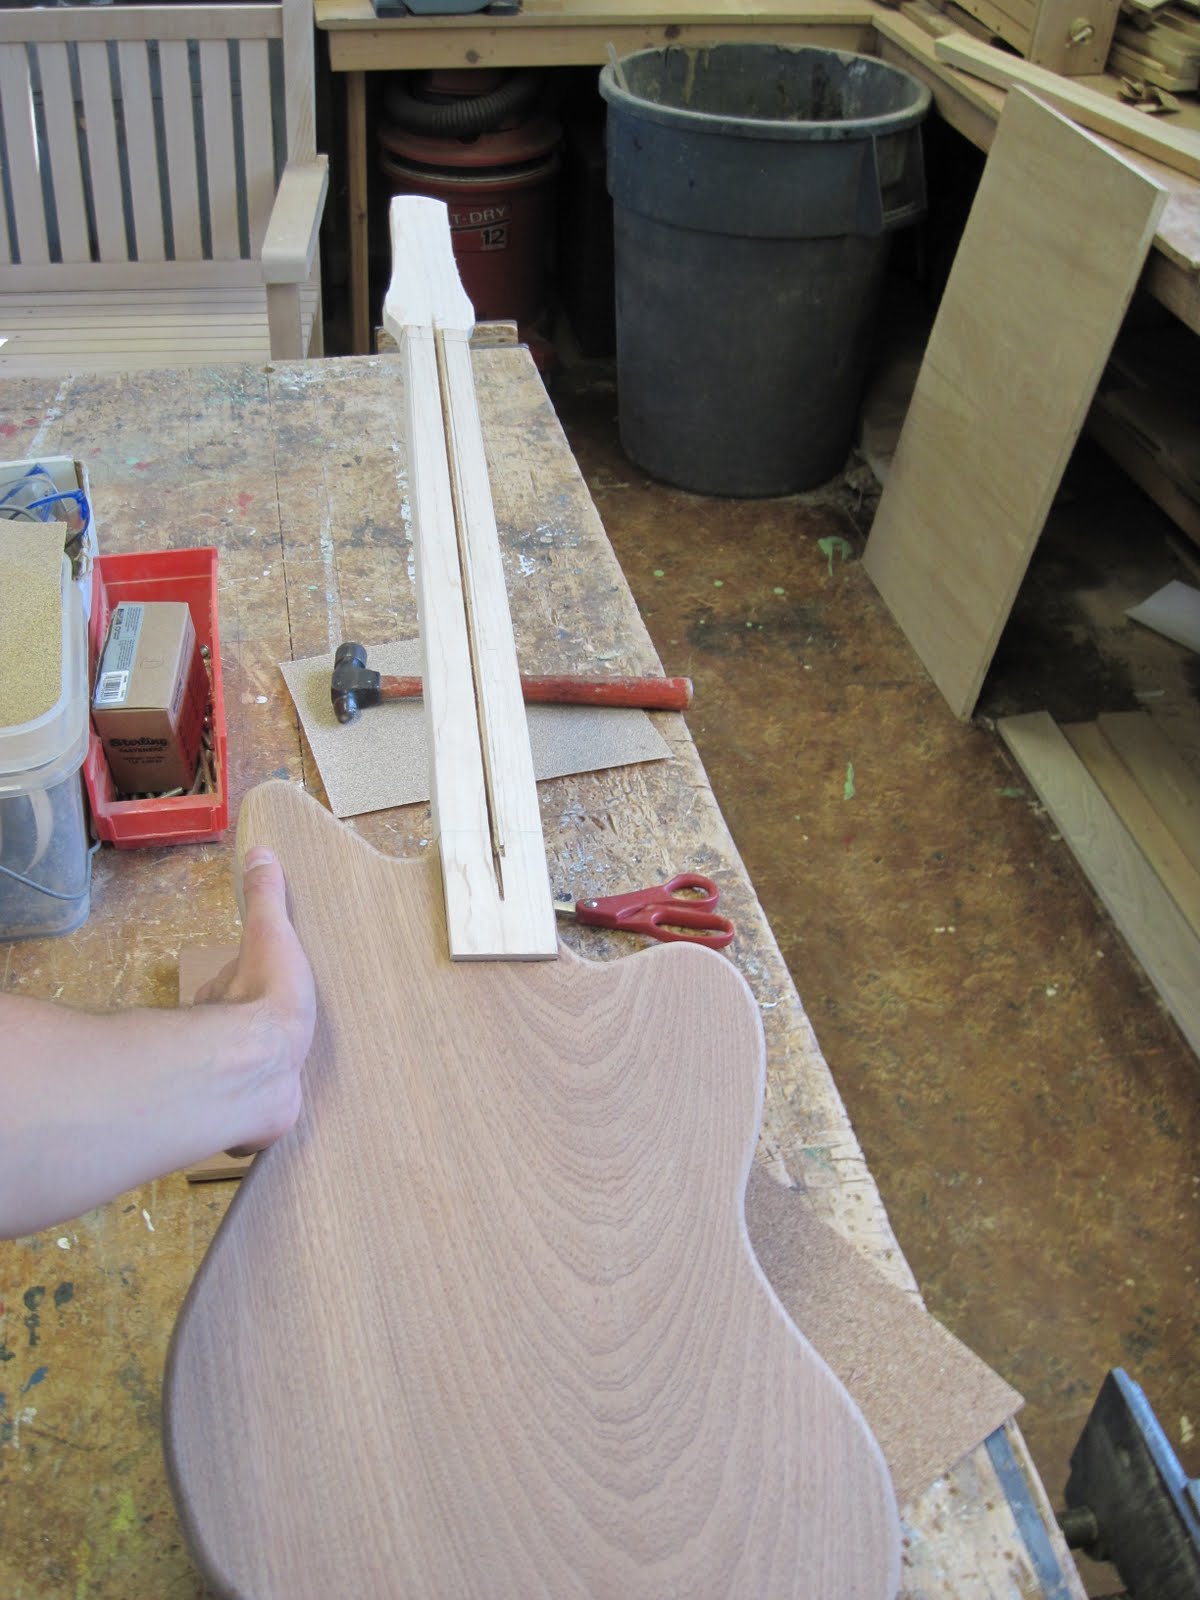
Oh my! It looks like a guitar! I never thought it would look so good (so far - I have plenty of time to botch it up).
Later on that day...
I started dealing with the fingerboard. I know I am doing thins in a very strange order, but it keeps me from getting bored with the project. The more logical way would be to finish one thing and move on to the next. Unfortunately, this is not that kind of project.
I drew up a CAD template of a 24" scale neck. With 24 frets. It took about 5 or 10 minutes all said and done. I then printed it off and went to the paper cutter. Trimming off the excess, I then taped together my overlap area, giving me this.

What do you think I did next? Of course! Double-sided tape! I attached this to the fret board blank I made. If you look closely, you can see where I wrote "BACK" in capital letters on the fret board.

I then set the depth of my saw by aligning the blade and depth stop with a piece of the fret wire I will be using. I didn't have a miter box that would work with the saw and stop, so I was VERY careful about making straight cuts.

The unveiling of the fret board...

Close enough for government work!

Then I decided to work a small amount on the neck. I got out the surform and rasp and got to raking.

I didn't do much because I want to check some pictures in a book I have to see how far I should carve.

Okay, that's it for today. More to come this weekend most likely.
Cheers!
No comments:
Post a Comment
Please do not leave anonymous comments. Type in your name, or even better, become a follower!